July 14th, 2022
How to start gold farming with the Shadowlands Mission Table
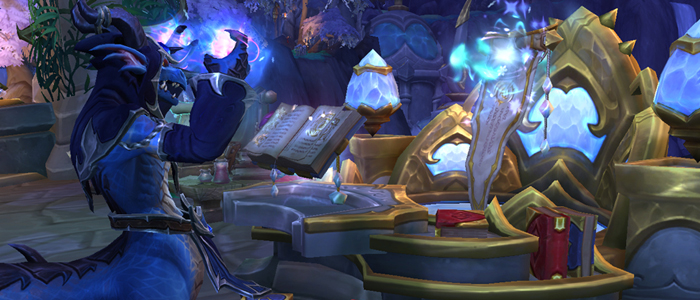
Shadowlands’ final days are on the horizon, but there is still ample time to stockpile a mountain of gold before Dragonflight launches later this year. One of the easiest and lowest effort methods of gold making is the mission table, found in your covenant sanctum and available to any character who is at least level 60 and has access to some spare anima. The mission table has been a staple for gold making over the past few expansions, but the Shadowlands mission table stands out with its high amount of raw gold and crafting materials.
Roughly speaking, you can expect to gain anywhere from 1,000-3,000 gold per day, per character. Usually, high-earning activities require equally high amounts of screen time, but in the case of the mission table, the rewards can be earned with as little as 30 seconds of screen time, twice daily per character. The brief time requirement makes it ideal for passive gold making while sipping your morning coffee and a calming pre-bedtime routine that lines your pockets swiftly.
With only a few characters using their mission tables you can fuel all of your M+/Raid consumable needs!
Before Unlocking the Mission Table:
If you have not already unlocked the Mission Table, there are a few steps that can save months of work and get larger rewards earlier. The main goal is to acquire as many Wisps of Memory items as possible. This item gives your followers a large amount of experience, which makes the mission table easier. The experience boost will bypass months of grinding and when done correctly will result in instant max-level followers.
To begin, your path will look slightly different depending on whether you are level 60. The best rewards will come from starting this process on an alt character who is level 50, but this is not required. Choose the following path based on your character level:
If your character is between levels 50-59:
- If you’re level 50, begin your Shadowlands intro until you’re in Oribos and able to choose your covenant.
- Acquire four Broker Mark of Distinction items from Au’Dara, the Heirloom Broker, on the second floor in Oribos.
- This will cost 500 gold each (2,000g total), but this gold will be earned back within a few days.
- Note: You need the “Renowned” achievement (reach Renown 80 on any character for any covenant) before you can buy this item. If you cannot purchase this item, I’d highly recommend stopping this guide and playing your main character until you reach Renown 80 with any covenant before continuing this guide as it will save you months of effort in the long run.
- Next, speak to each of the covenant leaders in Oribos and swap between the four covenants. Each time you swap, use one of the Broker Mark of Distinctions which will then set your current covenant to Renown 60.
- Each of these renown boosts will reward you with one Wisp of Memory and 1,000 anima per covenant, both of which will be invaluable to our mission table.
- Swap back to your preferred covenant, store the Wisps of Memory (do not use them), and continue leveling to 60.
- As you level, you’ll gain additional Renown which gives you two more Wisps of Memory at Renown 67 and Renown 76. Store these additional Wisps of Memory as well, we’ll use them later.
- Note: Night Fae is the easiest table and gives the most gold, so choose this covenant whenever possible.
If your character is already level 60:
- Swap between the covenants and use a Broker Mark of Distinction if you are Renown 51 or below on any of them, repeating until every covenant is Renown 52 or above (read the above section for more info).
- Store any rewarded Wisps of Memory you receive for later.
Mission Table Unlocking and Soulbind Leveling
Once you reach level 60, you will finally be able to get started with the mission table. You will first need to unlock the mission table itself, then begin accepting your soulbinds which will act as your followers to send out on missions along with generic troops. Due to some recent changes with how the mission table works, we can manipulate some game mechanics to skew these non-soulbind troops to have a very high starting level, which in turn means easier mission completion since our troops will be able to carry other low-level follower missions.
The most important part of the mission table sequence is to ensure that you solely take one soulbind at first, delaying the acquisition of your other two soulbinds until otherwise stated. To unlock the mission table and get the optimal gains from your followers, you will want to go through the following checklist:
Extremely important! This will save you months of grinding.
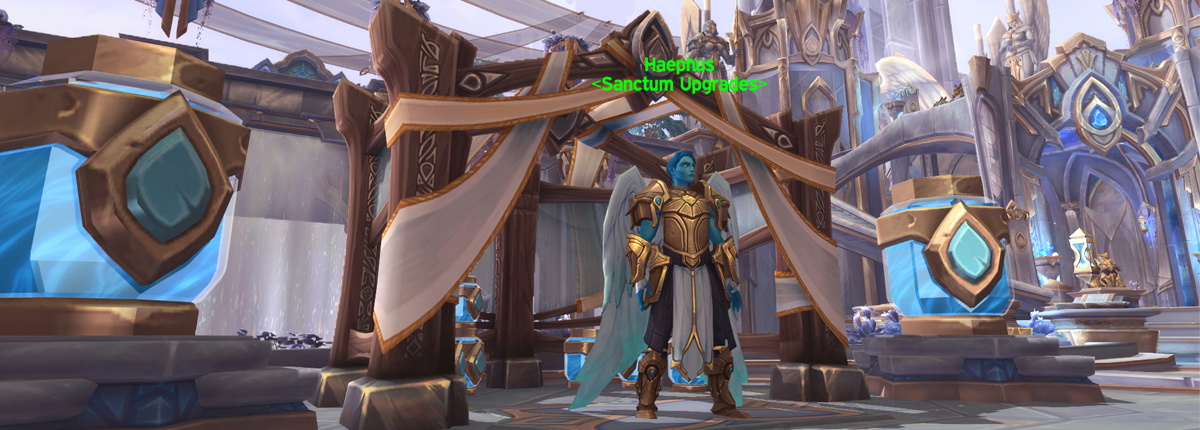
- Head to your covenant’s Sanctum Upgrades NPC and begin researching the Mission Table for 500 Anima and 1 Redeemed Soul.
- If you have not unlocked the Mission Table already, the research process will take you one hour of real-time to unlock, so go outside and touch grass until this timer completes.
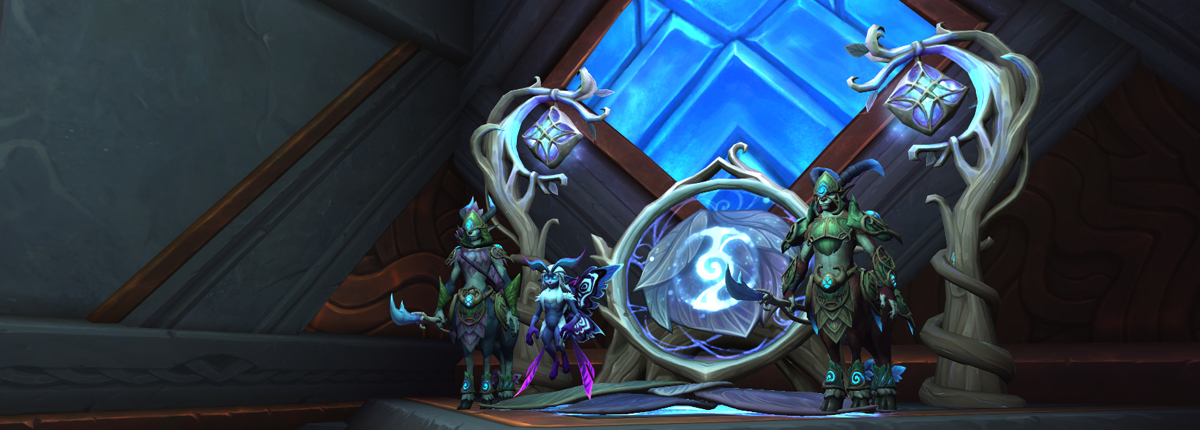
- After completing the Mission Table research, you will get the option to start adding your first Soulbinds, only accept your first Soulbind. Do not accept the subsequent second or third yet. This is extremely important, only accept your first follower.
- For Night Fae: only accept Niya
- For Venthyr: only accept Nadjia
- For Necrolord: only accept Plague Deviser Marilet
- For Kyrian: only accept Pelagos
- Use all of your Wisps of Memory on your first Soulbind, getting them to Level 60 (or as close to it) as possible.
- Wisps of Memory usage breakdown:
- (1) Wisps of Memory gets your Soulbind to level 38
- (2) Wisps of Memory increase the level to 46
- (3) Wisps of Memory increase the level to 51
- (4) Wisps of Memory increase the level to 55
- (5) Wisps of Memory increase the level to 59
- (6) Wisps of Memory increase the level to 60
- Getting your follower from level 59 to 60 can be done with a sixth Wisp of Memory, but the Wisp will be far more XP than needed and “waste” some of the rewarded XP. Alternatively, you can use other XP items from another character’s mission tables, there’s no wrong answer.
- The reason we do this is to skew the non-soulbind troop level through the use of clever game mechanics:
- Troop levels are based on the average of your current soulbinds’ levels. Since we ideally only have one soulbind, this means our troop level will exactly match our single soulbind’s level, so the higher we push our Soulbind, the higher our troops will get, preferably all the way to level 60.
- Wisps of Memory usage breakdown:
- After you push your single Soulbind as high as possible, you can then accept the other two Soulbinds, as well as any additional followers from your table.
- Troop level cannot be lowered, so you will have one Level 60 soulbind, Level 60 Troops, then a bunch of level 1 additional soulbinds/followers. These low-level followers will get swiftly carried through missions by your high-level troops, allowing them to catch up on levels over time.
- Begin sending out missions (see next section on “TLDR Missions Add-on”).
- Optional: Further sanctum upgrades to your Mission Table
- Research Rank 1: Perfectly fine to use indefinitely
- Research Rank 2: Increases your soulbinds’ recovery rates
- This is not useful and isn’t needed
- Research Rank 3: Decrease mission duration by 33%
- This is good if you’re flipping your tables more than twice per day since you can begin sending out 3-4 sets of missions per day. This will consume anima at a faster rate but significantly increase your gold and resource rewards.
TLDR Missions Add-on
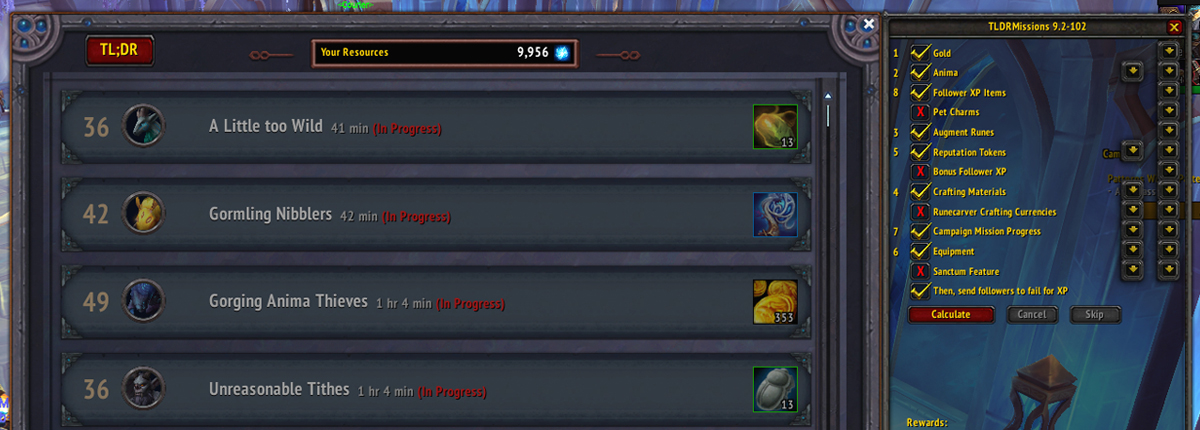
The best mission table add-on on the market currently is called TLDR Missions. It replaces all add-ons you may have had previously (VenturePlan, Covenant Mission Helper, etc.) and acts as a stand-alone tool that handles everything you need to get started. This tool can be configured using a priority system, allowing you to tweak exactly which rewards you want and ignore others, which both saves on anima and gets you preferred rewards faster. Once fully configured, you will be able to send out all of your followers with a single click, then complete their missions a few hours later with a second click.
Which missions you choose to take are entirely up to you, but I have provided the setting used on my personal gold-making setup below. The following configuration has been designed to maximize raw gold, high-value crafting materials to be turned into other goods, and augment runes to sell on the auction house, with a secondary focus on reputation tokens to slowly build towards paragon caches (which also contain raw gold).
You can also earn thousands of battle pet tokens without ever doing a single battle!
TLDR Mission Configuration
- Install the “TLDR Missions” add-on
- Configure the TLDR Missions settings
- Visit the Mission Table and click on the red “TLDR Missions” button which appears in the top-left of the Mission Table window.
- Under the “Advanced” tab at the bottom of the TLDR Missions interface, check the bottom-most option: “Immediately start missions once calculated”
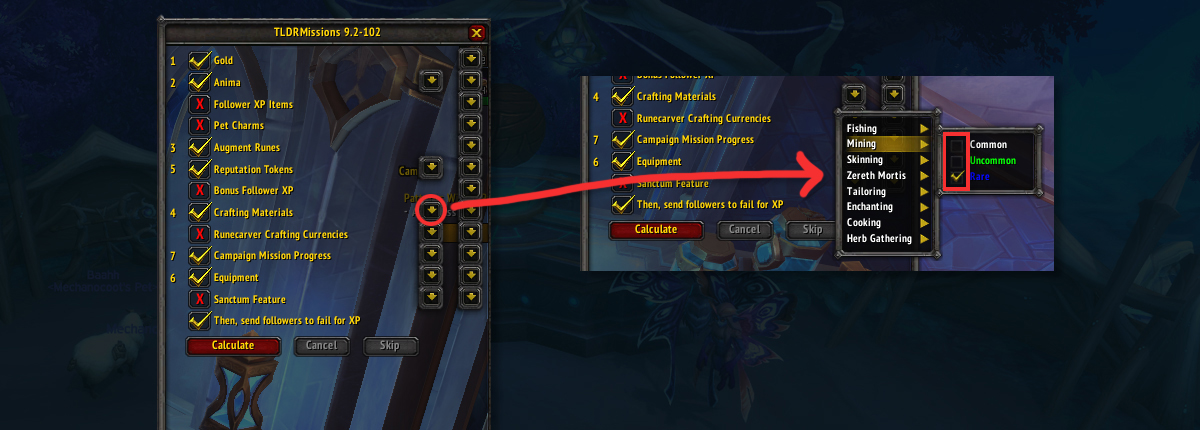
- Edit the TLDR Missions settings by clicking into the empty checkboxes to assign different mission categories a priority. Click on an item once to give it a priority, twice to turn it into a red X (never take), and a third time to reset the priority. This is the priority system that I use:
- Gold
- Anima
- (Optional) Augment Runes
- The price of Augment Runes varies heavily from server to server and as we approach the end of this expansion the price of these will likely reduce substantially. I have stopped taking these, personally, but if you want them for personal use, or if your server has a decent price/sell rate you can still take this.
- Crafting Materials
- Using the dropdown menu to the right of Crafting Materials, uncheck all Common and Uncommon options, solely keeping the Rare rewards. You can also uncheck all of the Zereth Mortis rewards entirely. This saves you a lot of anima and nets you the highest rewards.
- (Optional) Reputation Tokens
- This is only good for characters who are near Exalted with various reputations already. There are only a few months left in the expansion and it will not be enough time to reach Paragon status if you choose this option on a fresh character.
- Equipment
- Can be sold for raw vendor gold, or for even more profit you can take the Enchanting profession on your character, then Disenchant any equipment drops for valuable enchanting materials to sell or craft with.
- Campaign Mission Progress
- You want to progress until roughly Campaign Mission 10-ish, at which point you’ll begin getting an increased amount of missions, after which you can uncheck this option.
- (Optional) Follower XP Items
- Only take this option if your three main Soulbinds are close to level 60 and need a quick bump, or if you want to funnel XP items to alts for their tables.
- Then, send followers to fail for XP
TLDR Mission usage
Once configured, you can then begin sending out your followers on their missions using the add-on finally! To start missions, you’ll want to use the following steps:
- Click the “calculate” button
- If you have the Immediately Start Missions option checked, this will then auto-send your missions out for you. If not, manually spam the “start mission” until no more remain.
- After the missions are complete, a new “Complete Missions” will appear at the bottom of the TLDR Missions window. When clicked, it will auto-complete all missions.
- Repeat step 1 to calculate new missions, and send them out again using step 2.
The process of gold making with the table is now configured and you can repeat this process on as many of your alternative characters as possible since the amount of gold you make scales directly with how many characters you have participating.
Time’s Money Friend! (create a routine)
Personally, my goal is to spend very little IRL time and anima on the tables, so my schedule is to visit the tables twice per day, per character. Once in the morning, and once again before going to bed. All of my alts are logged out at their mission table, so updating the tables is as easy as logging in, pressing the “complete missions” then “calculate” buttons, and logging out 30 seconds later after they’ve all been sent out. I repeat this for each character and all told it takes about 5 minutes per day for my ten characters. A few times per week I will open their bags, open any of the Crafting Materials boxes, then disenchant any of the Equipment rewards, then walk them to a mailbox and send all of their gold and inventory to my main character, who will then process the materials into crafted goods to sell on the auction house for even more profit such as feasts, gear enchants, or just raw sell the materials.
Closing note
The mission table is sadly going away in Dragonflight, but we still have several months remaining before this happens and I would highly recommend this approach for grabbing as much free gold as possible going into this next expansion so that you can coast into the new tier comfortably.
Thank you very much for taking the time to read this guide and have a lovely rest of the expansion.
– Hrothmar